Click on the people icon located in the left navigation bar
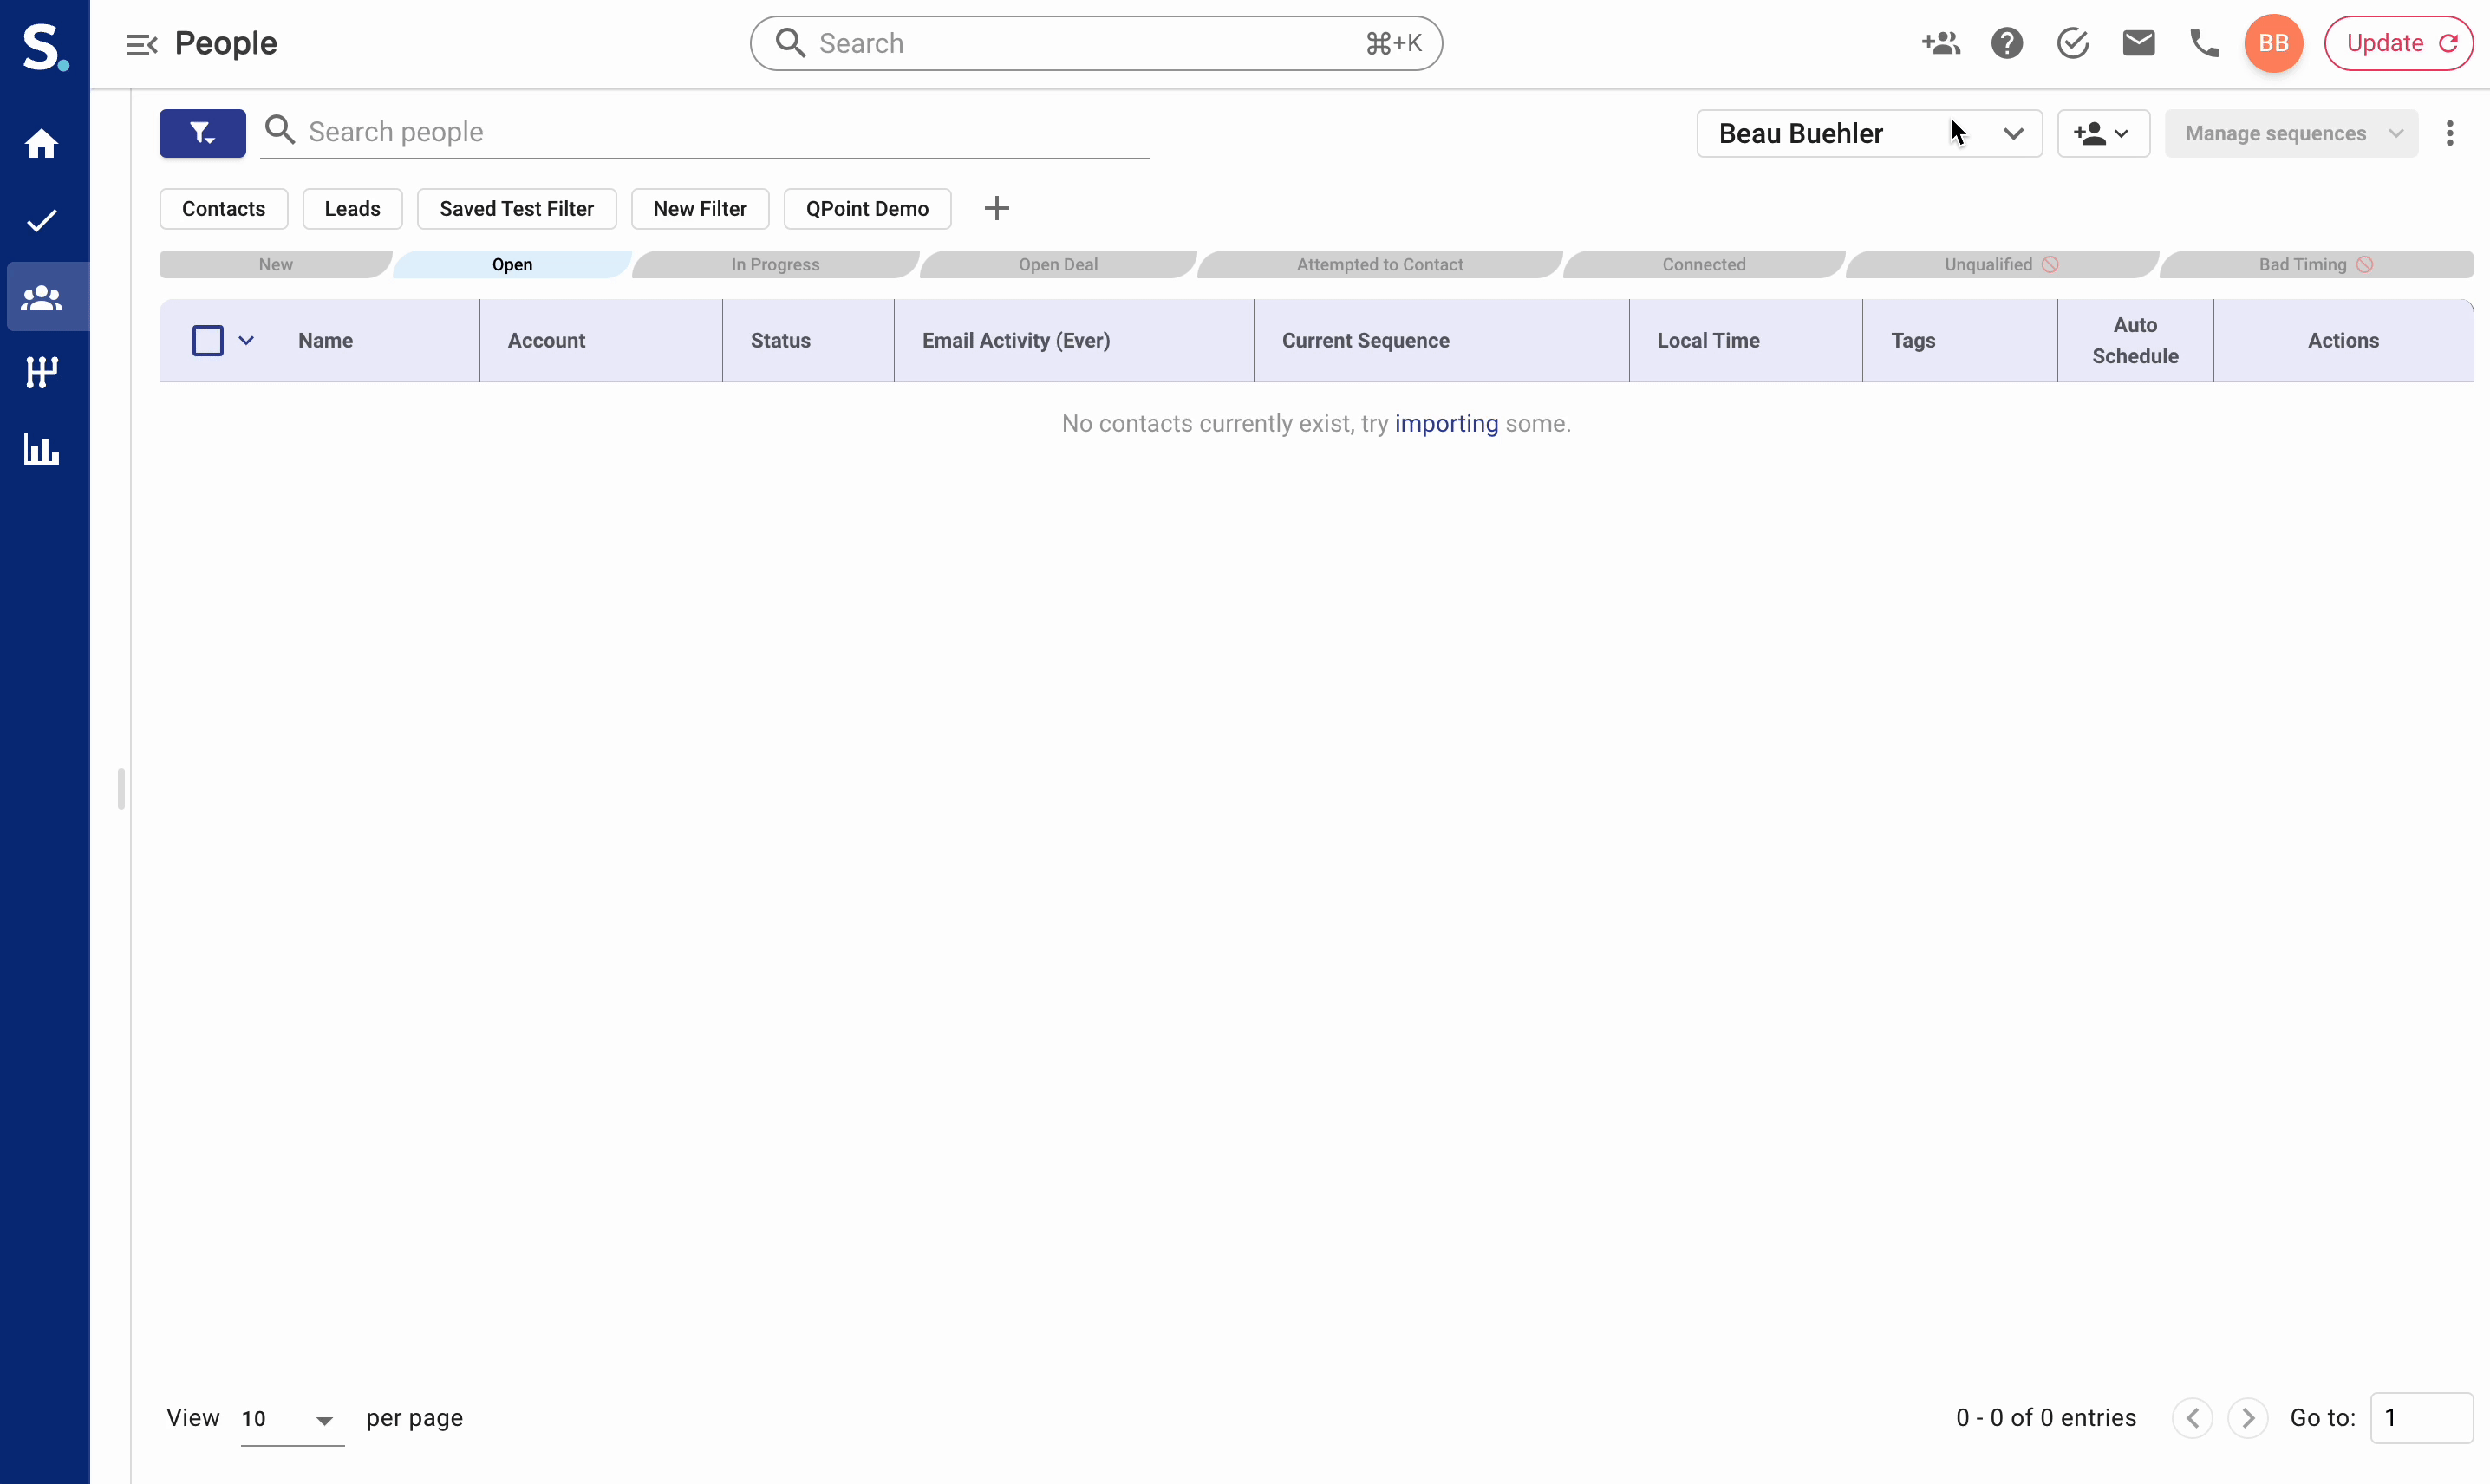
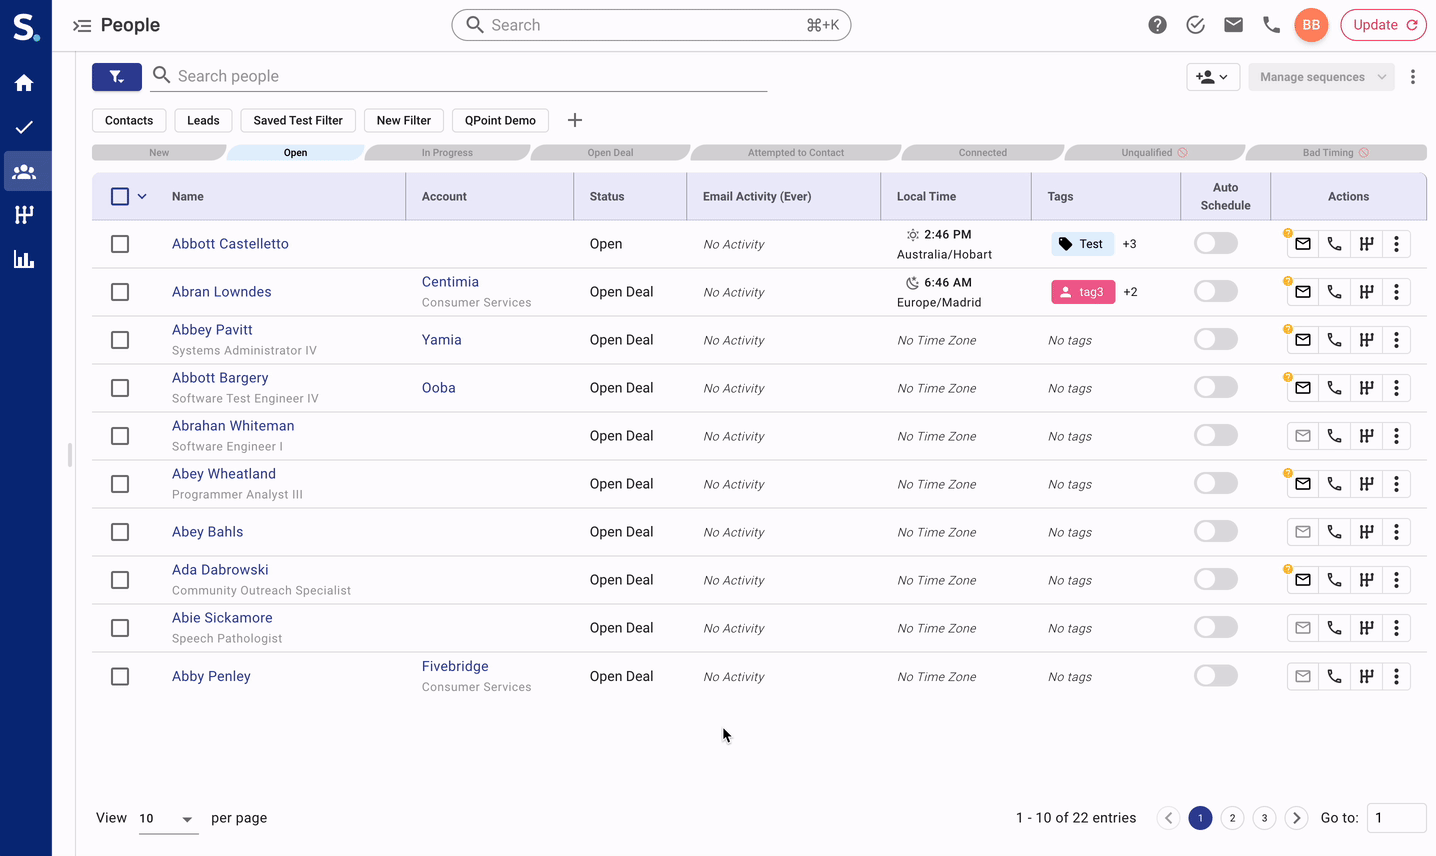
Isolate the prospects that you intend to move to another user by selecting filters from the filter component. Helpful filters include:
Tags - These are most helpful if you include tags in your file imports
Import File Name - Identify leads that you imported from a specific file
Imported At - The date and time a prospect was added to Symbo
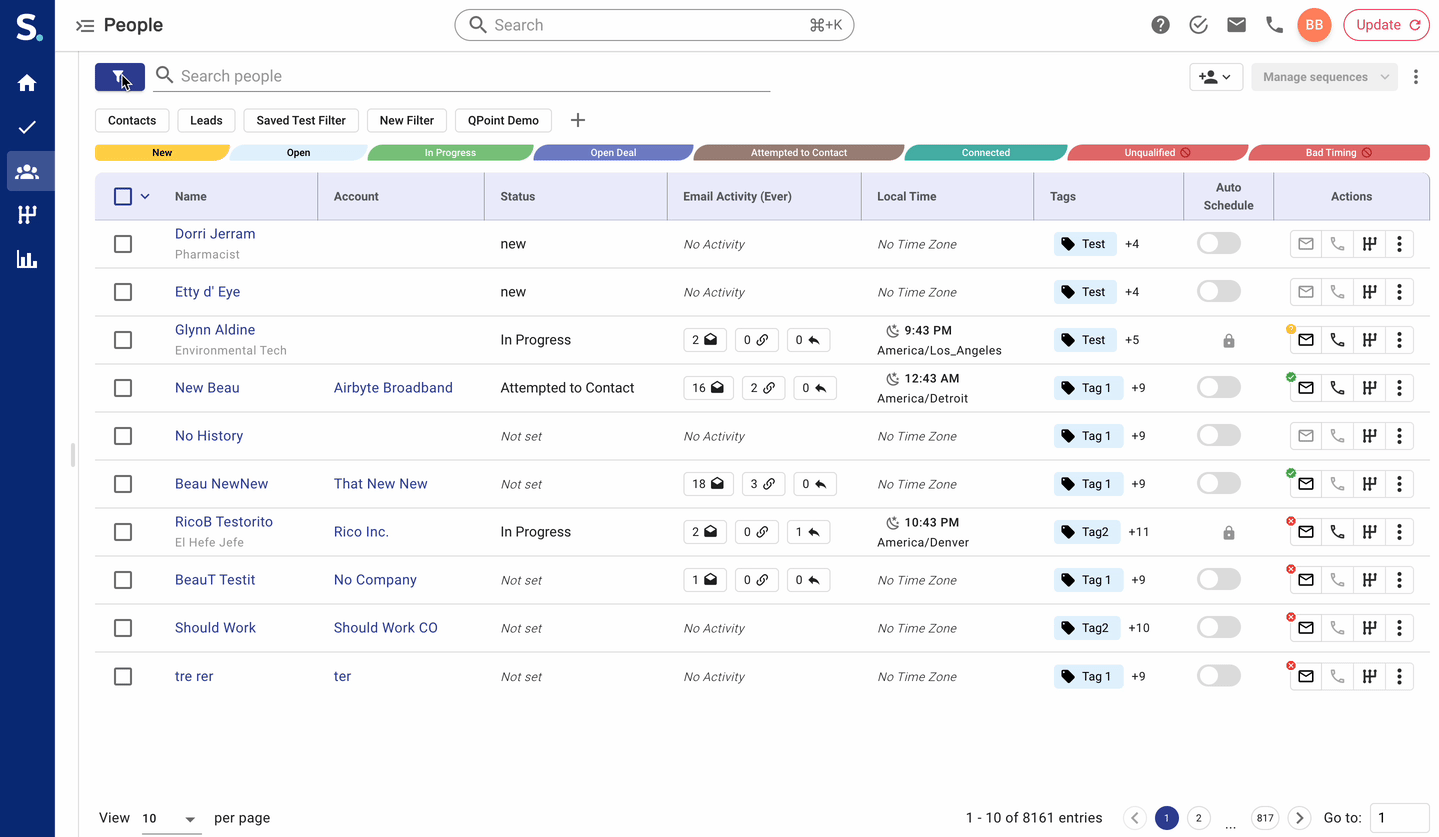
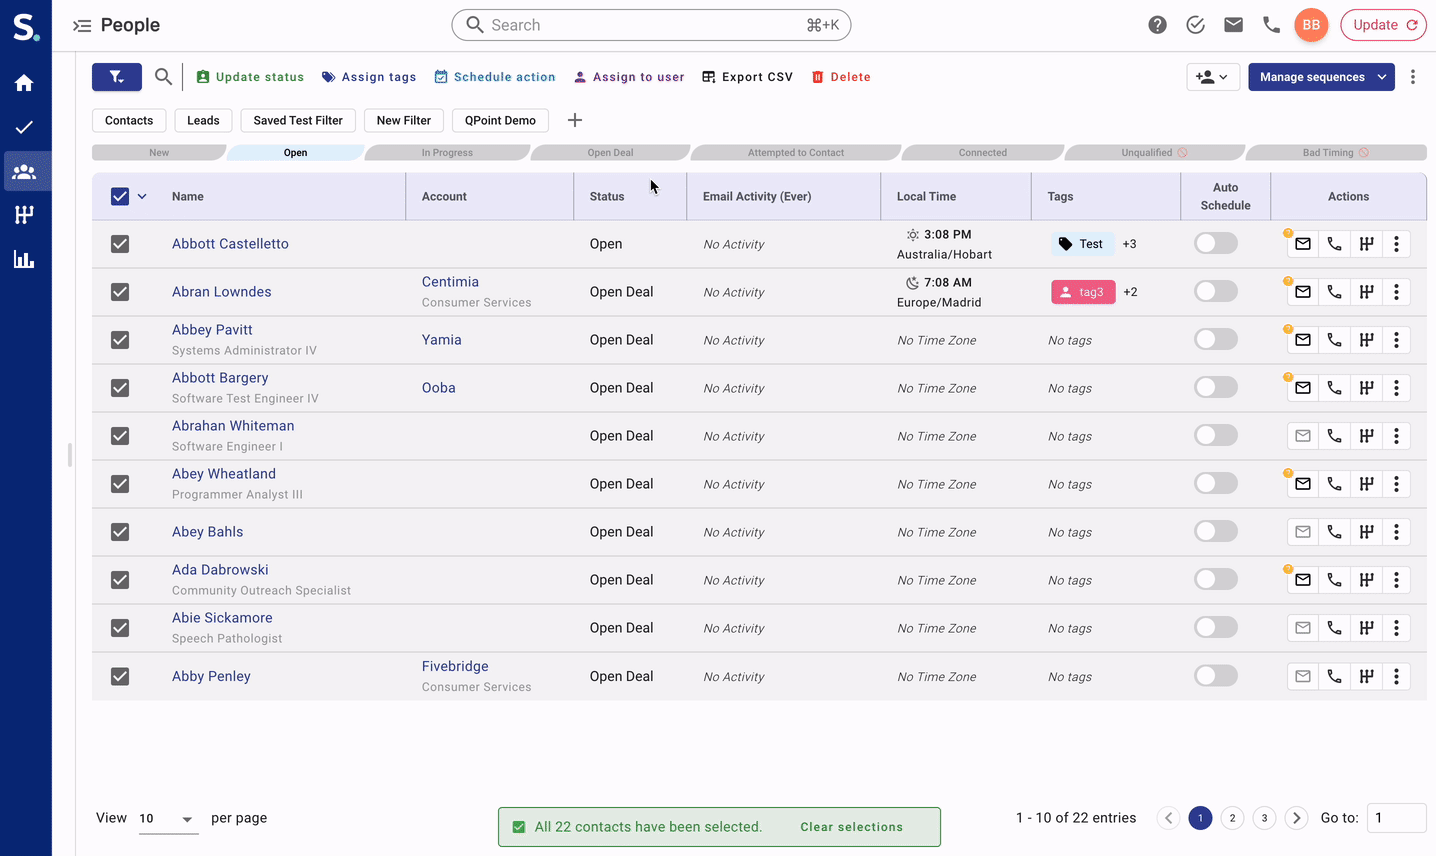
Check the prospects you would like to move to another user. You can select all prospects in the current filter set by clicking Select all {number} contacts.
After selecting prospects to move, table actions will appear. Click Assign to user, then select the user you would like to move the prospects to.
You have successfully moved prospects to another user. If you are an admin user, you can select the new owner from the dropdown to view the leads you assigned.