Having a professional email signature can make a big difference in how people perceive you and your business. It's an excellent way to convey important information about yourself, your company, and how to contact you. In this tutorial, we'll walk you through the process of creating a personalized email signature.
The first step in creating your email signature is to click on your initials in the top right corner of the screen. This will open up a drop-down menu, and you'll want to select "My Settings." This will take you to a page where you can customize your Symbo settings.
Once you're on the My Settings page, you'll want to navigate to the "Email Settings" section. Here, you'll find the option to create your email signature.
In the Email Settings section, you'll see an option to "Email Signature" Click on this, and you'll be able to create and customize your email signature.
If you already have an email signature that you're happy with, you can simply copy and paste it into the text box provided. This is a quick and easy way to create your signature without having to do any additional work.
*Note when adding images: If you have images that you'd like to include in your email signature, it's best to save them to your computer first. Then, use the "Insert" feature in the text editor's nav bar.
Click on the plus icon,
select "Picture" icon
Select upload and then select from your files
Once you've selected the image, you can resize it to fit your signature and format it as desired.
Once you've added your text and images, you can format your email signature by using the editing tools available in the text box. You can change the font, size, and color of the text, as well as add bullet points or other formatting elements.
Once you're happy with your email signature, simply click "Save," and your new signature will be added to your outgoing emails. Congratulations, you've successfully created your email signature in Symbo!
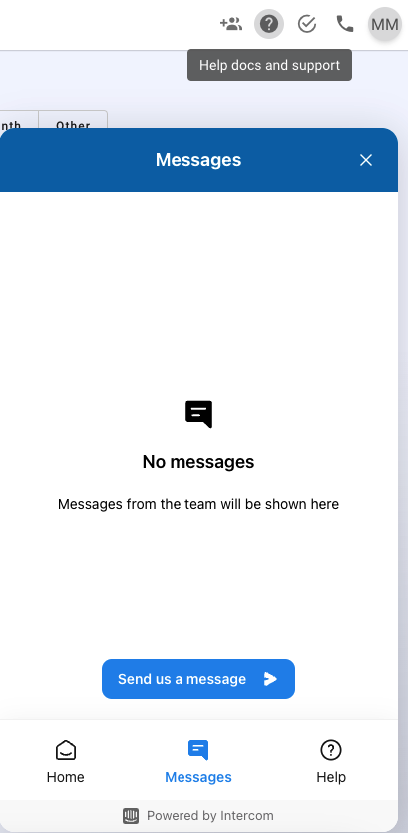
Creating a professional email signature is an essential part of establishing your brand identity and conveying important information to your recipients. With the easy-to-follow steps provided in this tutorial, you'll be able to create a personalized email signature in no time. If you have any questions or need further assistance, don't hesitate to contact Symbo support at [email protected] or start a chat with us by clicking on the "?" icon in the top right of your screen.