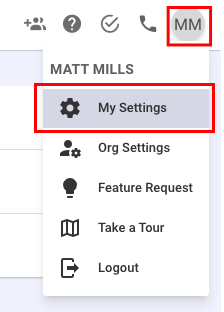
To start, you need to click on your initials in the top right corner of your Symbo account. Then, click on "My Settings" and select "CRM Connection" to expand this field.

Once you have expanded the "CRM Connection" field, you will see a dropdown menu where you can select your CRM. In the given example, HubSpot is selected, but the process will be the same for other CRM's as well.

After selecting your CRM, click the "Connect" button. You will then be routed to your CRM's OAuth page. If you have multiple instances of your CRM for development purposes, make sure you select the proper instance of your CRM.
On the permissions page, ensure that everything is checked and grant access to Symbo.
Once you have granted access to Symbo, you will be redirected back to Symbo. On this page, you will see two checkboxes:
Auto Sync to CRM: We recommend keeping this enabled. This feature will automatically sync any edits or updates made to a prospect or record in Symbo to your CRM. It will also create a new prospect in your CRM if you add a new prospect in Symbo.
Sync outside emails to Symbo: We also recommend keeping this enabled. This feature will log all outbound and inbound communication between you and your prospects to your CRM.

If you have a CRM that has custom fields, please make sure to reach out to team@symbo.ai we will manually set up those mappings so that information flows the way you want it to.
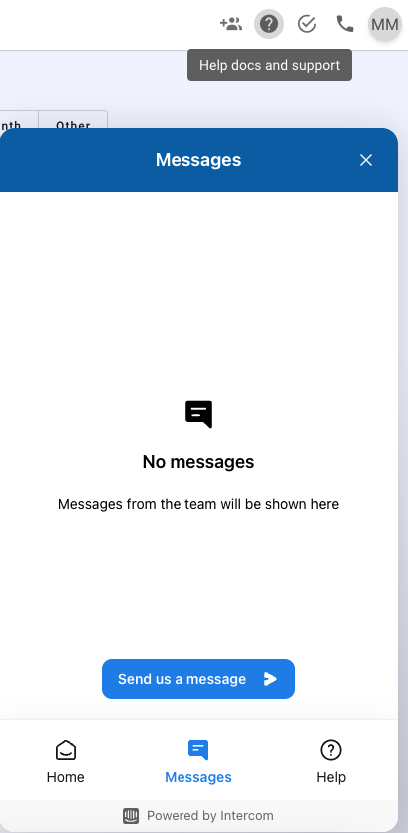
Congratulations! You have successfully connected your CRM to Symbo. If you have any questions or encounter any issues, please don't hesitate to reach out to the Symbo support team or start a chat with us by clicking on the "?" icon in the top right of your screen.
