This article guides you through making calls on Symbo with local presence numbers. Currently, local presence dialing is available in the USA, Canada, and Australia, with more countries to come. If we’re missing a location you need, let us know!
Note: Local presence dialing is available with our Pro and Power Dial plans.
Getting started with local presence is easy—Symbo provides the numbers you need, so there’s no need to purchase area-specific numbers!
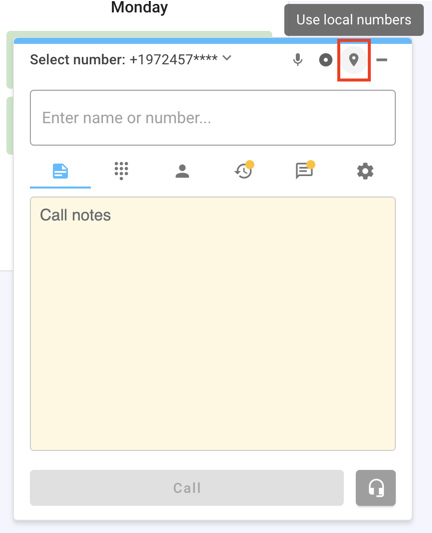
Click the Map Marker icon at the top right of the dialer to enable local presence dialing.

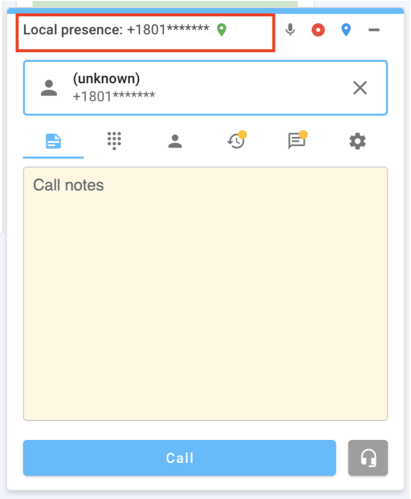
Once enabled, you’ll see “Local presence: standby…” at the top left of your dialer.

Symbo will automatically select a local number that matches the area code of the number you’re dialing. You can use Click-to-Call or enter a number manually. Before placing your call, you’ll see the outbound caller ID reflecting the matching local presence area code.

To enable local presence dialing in the multi-line Power Dialer, configure it in the dial session settings as follows:
• From an active dial session, click the Settings button.

• Under the Call Control section, select Local Presence Dialing as your outbound caller ID.

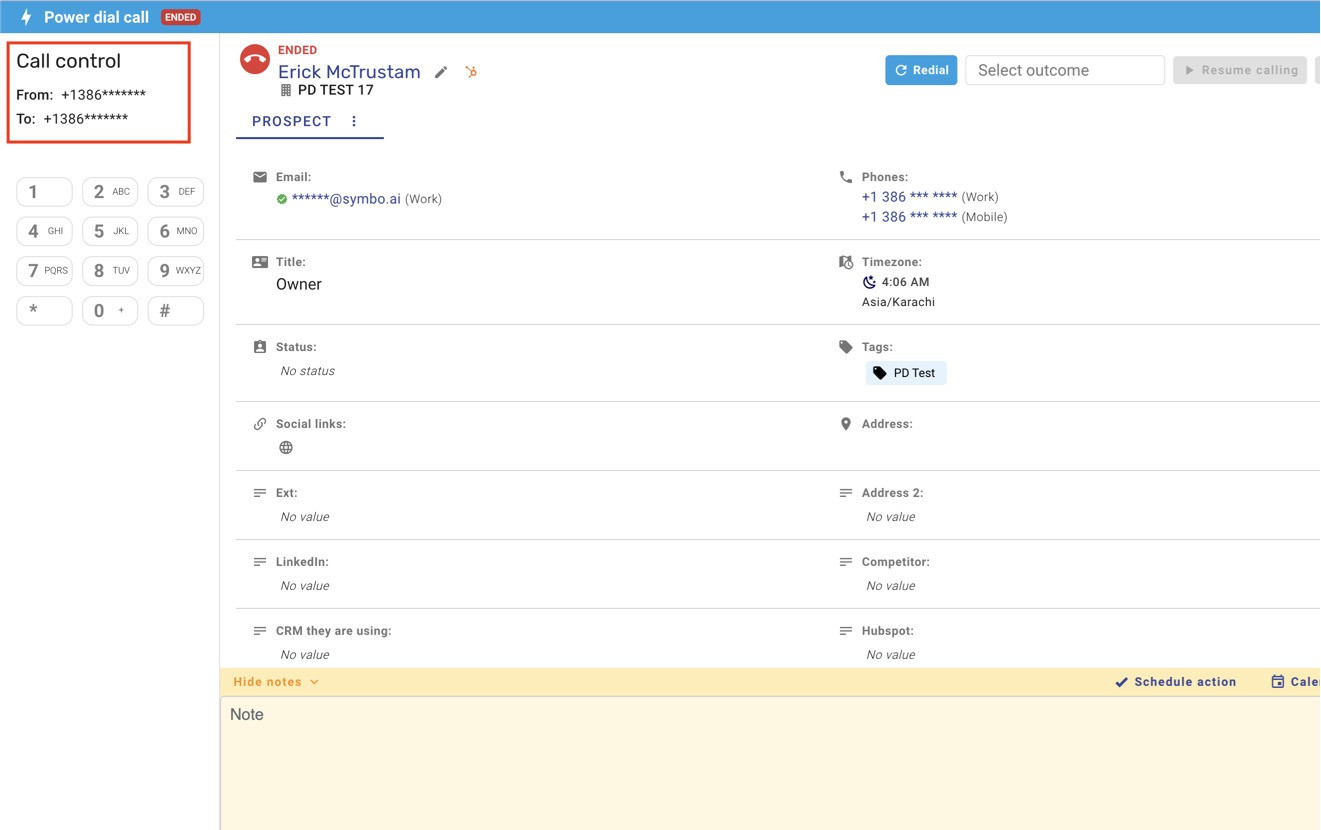
For each prospect in your dial session, Symbo will select a local number automatically. During an active call, you can view the outbound caller ID (local presence number) in the upper left of the screen.
